Translate Widget

English French German Spain Italian Dutch

Russian Portuguese Japanese Korean Arabic Chinese Simplified


this widget by www.bloggerarticle.com

Search This Blog

Saturday, February 6, 2010

Stromboli

Decided to get an early jump on the menu, for our Superbowl gathering. First, on the menu, was Italian Stromboli. Started out with thick pizza dough (store bought), and rolled it out. Then started layering the Stromboli, with thin sliced ham, mozzarella, Mortadella, sweet Capicola, provolone cheese and Genoa salami. Left a one inch border, all around, to ensure a good seal. We then brushed the edges, with egg wash and started to roll it up.
Keeping it nice and tight, to get good presentation and distribution of the cold cuts. Tuck the ends under to keep anything from coming out.
Brushed the top, with the remaining egg wash and sprinkled the top, with Parmesan cheese.
This is what they look like, when it comes out of the oven, after, about 14-16 minutes, at 425 degrees. You will have to come back tomorrow, to see the cross section view. So far, the menu consists of sausage dip, taquitos, pigs in a blanket, mild wings, the Stromboli(s) and pork egg rolls. I'll have more pics tomorrow. Enjoy the game!

Friday, January 29, 2010

Homemade Pastrami, NYC style....

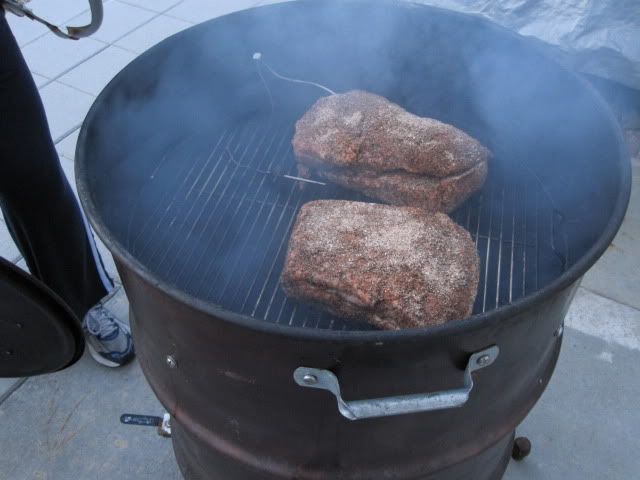
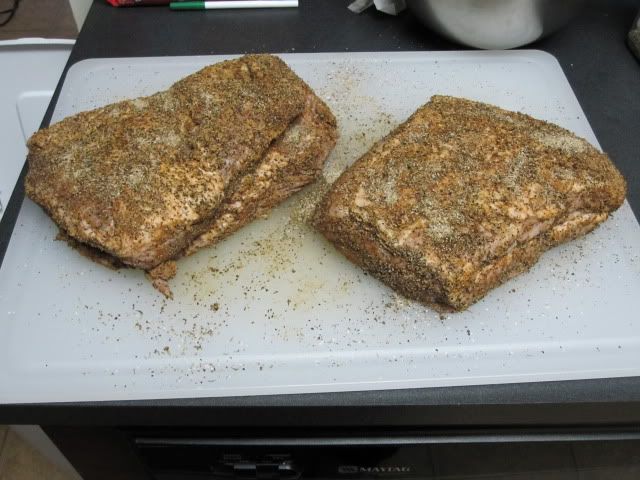
Started out with 2 corn beef flats and soaked them, for about 24 hours. The reason for this, is to remove some of the salt content. After they soaked, I patted them dry and rub them with black, pepper, granulated garlic, onion powder, ground coriander and dried thyme. On the smoker, they went, looking for an internal temp., of 145 degrees. Used reg. Kingsford charcoal and a few chucks of soaked to fuel the smoker.
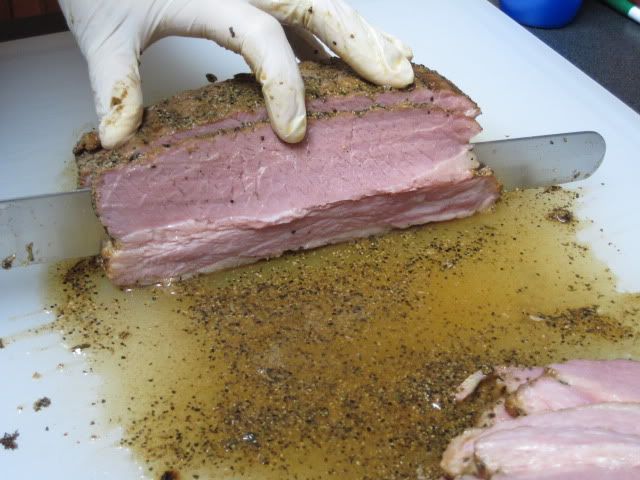
Once the desire internal temp. was achieved, I took them off the smoker and foiled the pastrami. Let the meat rest for about an hour, to let the juices redistribute. Hand sliced the pastrami, to finish it off in a pressure cooker, with beef broth, for 20 minutes. The pressure cooker, gives it that steam effect, you would find in many NYC Delicatessens.
And the final product served on rye bread, with Gulden's Spicy Mustard, swiss cheese, and pastrami. Toasted in the toaster oven to melt the cheese and heat up the meat. Treat yourself to a delicious and satisfying treat. Enjoy.

Sunday, January 24, 2010

Chicken Sausage, Brats and Apples & Chardonnay

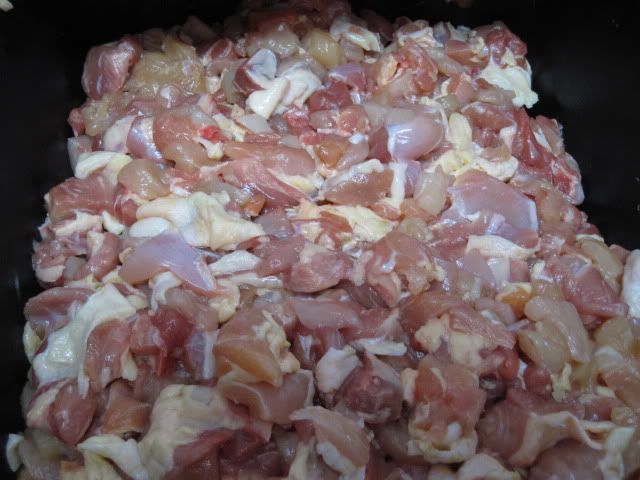
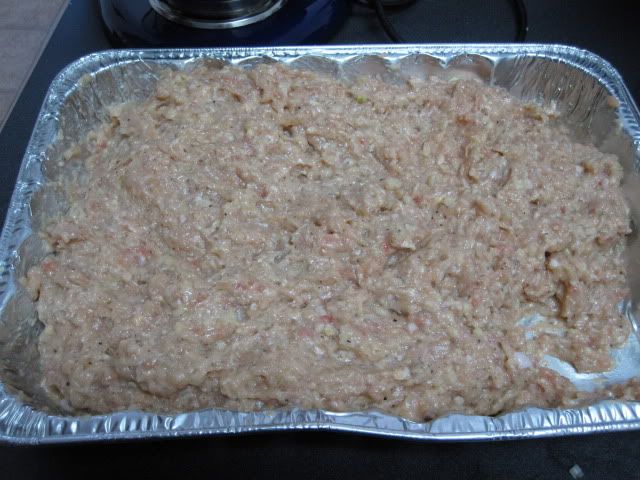
Wanted to try and make some chicken sausage, so we started out with 11 #'s of bone in thighs. Deboned and cut up the thighs, gave them a quick freeze for about 30 minutes to help with the grinding process. The two types of sausage we were making was Chicken Bratwurst and Chicken Sausage with Apple and Chardonnay. After separating the two batches of ground chicken, we seasoned each accordingly to the recipe and then proceeded to stuff them in to natural medium hog casings. But first, amde two tiny patties to taste the spices and see if it needed anything.
Here is a quick look at the stuffing process...
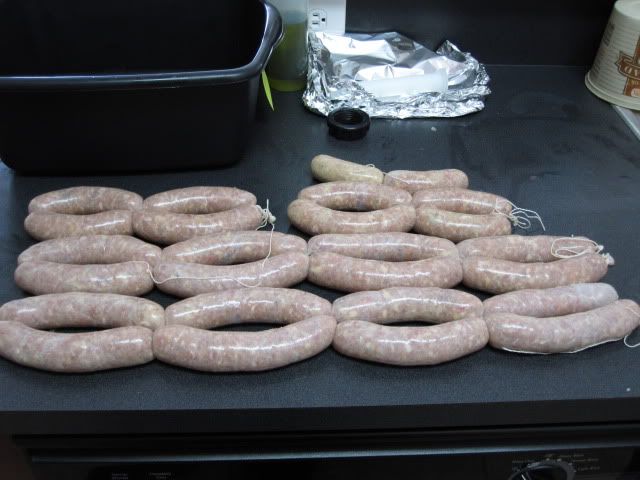
Making the links and braids.
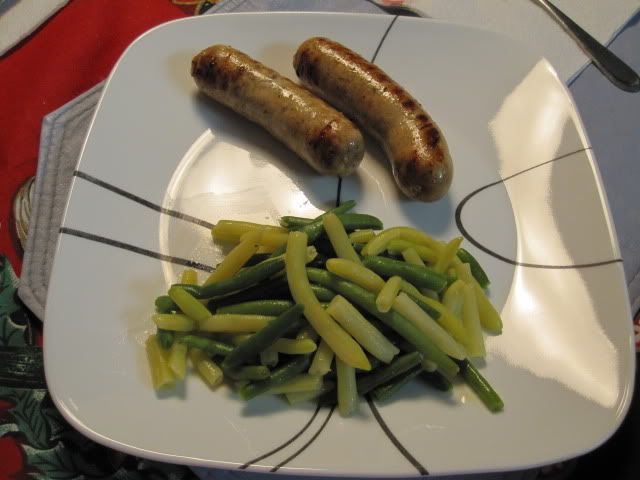
This is the finish product, this is actually, the Chicken Bratwurst. It tasted very good and juicy. One of the best things, about homemade sausage, is that you know exactly, what is going into the sausage, and you can control the sodium, fat, or tweet the seasonings, to satisfied your taste.
Can't wait to try the Apple and Chardonnay links, next time. Thanks for viewing.

Wednesday, January 20, 2010

Beer Can Chicken and Spam

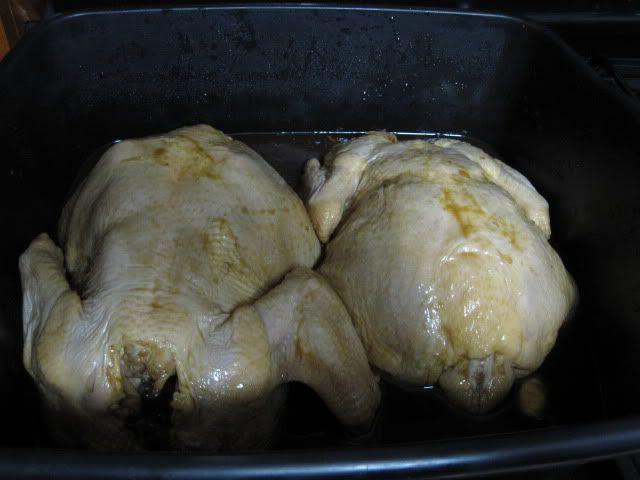
Started out with two whole chickens, marinaded in Ken's Teriyaki and Honey Marinade, for about 3-4 hours. Gave them a turn very 45 or so.
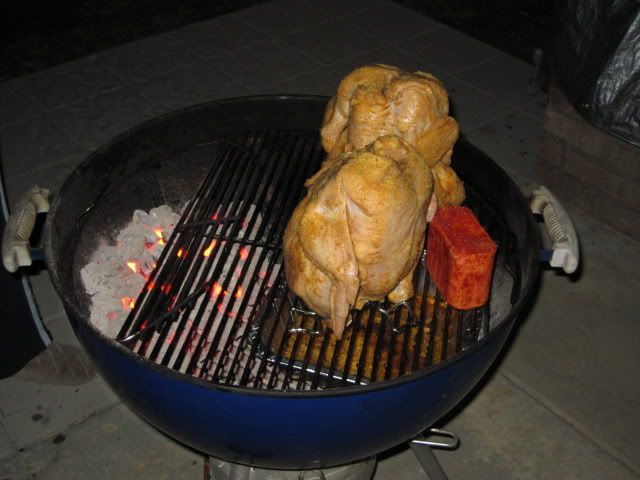
Dried them up with paper towels and put them on their holders, with half a can of "Bud". Sprinkled on a little California style garlic powder and a little onion powder. Placed it on the grill, with indirect heat. Used Regular Kingsford Charcoal and a couple of chunks of pecan wood, for smoke flavor. The chickens looked lonely, so I put on a chunk of Spam, rubbed with pecan rub.
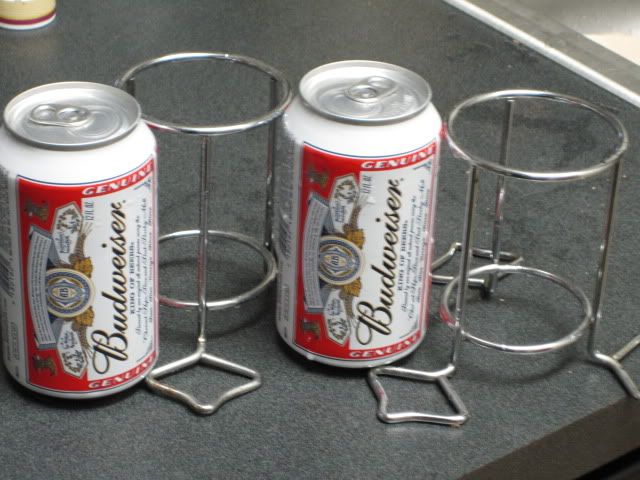
The beer and the holders.
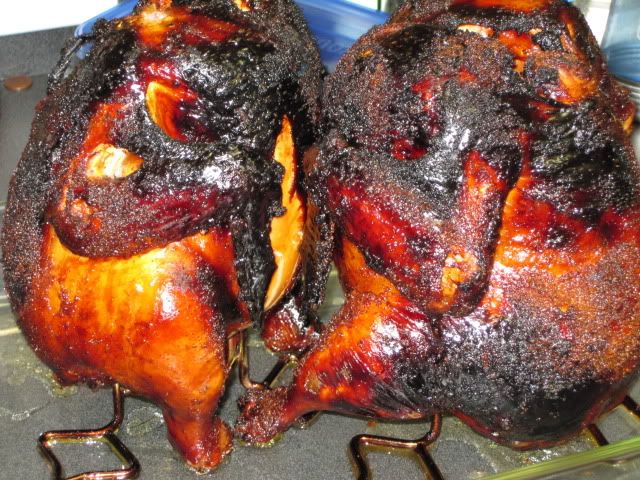
This what the finished birds look like. Approximately, about an hour on the grill, with the top vent half way opened. The marinade had honey in it, so that is the dark spot you see. The skin was crisp, the meat was moist and very juicy.
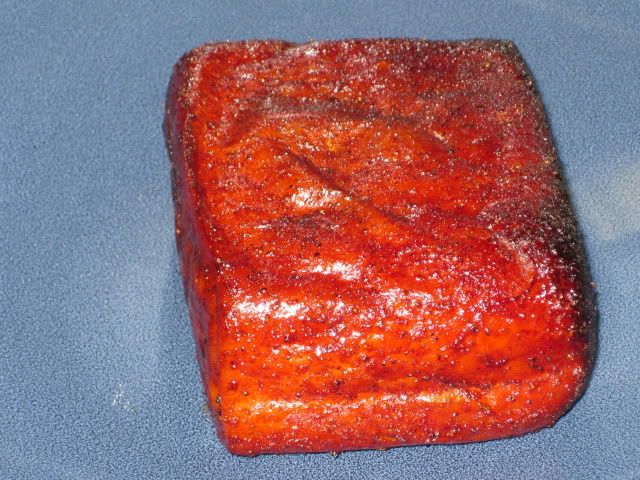
This is the Spam. It was perfect. The rub turned into a nice sweet crust. The family loved it. Nice quick meal, very low effort and prep. time...Great Results!!!

Thursday, January 7, 2010

Starting the New Year with Turkey Breast

Happy 2010! Decided to make a whole turkey breast, to help stay on our health kick. Started out with a 8.5# turkey breast and brine it, in orange juice, Tender Quick, black pepper and oregano. Brine it over night for about 15 hours. When we were ready, we rinsed and pat dried the breast, let it come to room temperature and seasoned with garlic powder, black pepper, oregano, dried french poultry rub and melted butter.
Ready to go in a 325 degree oven, with an aluminum foil tent, for about 1 hour. Then basted, with the juices from the roasting pan and added a couple strips of center cut bacon, to keep the meat moist. Back in the oven, basting every 40 minutes. Looking for an internal temp. of 170 degrees.
After almost 2 hours and 45 mins., this is what you end up with.
It was so moist and flavorful! Who says turkey has to be dry? Eat healthy in he New Year!
Till next time!

Sunday, December 20, 2009

Stuffed Peppers

Started out with an assortment of peppers, from BJ's. We know we wanted stuffed peppers, but we decided to make it our own.
Stared out with some left over pulled pork and added some left over, cooked, white rice. A little bit of our own barbecue sauce and some shredded Mexican four cheese blend. Mixed it all together and stated to cut the tops of the peppers and remove the seeds.
Stuffed the peppers and topped with more shredded Mozzarella cheese. Into a 350 degree oven, for one hour.
This is what you get, a delicious and savory stuffed pepper, that pleased the fussiest of eaters.

Monday, December 7, 2009

Making Homemade BuckBoard Bacon

Started out with an 8# butt, and Western Legends BuckBoard Bacon Cure. BuckBoard Bacon is the old style way of curing and preserving the meat, back in the days of the cowboys. I followed the suggested manufacturer's instructions and stared the curing process on Day 1. Once the cure was applied, the pork was placed into zip-lock bags and into the refrigerator, for at least 10 days. Always turning the bags to ensure proper curing.
On day 12, rinsed and soak the pork for approximately 8 hours, changing the water frequently to removed the excess salt from the cure. The pork was rubbed with black pepper and brown sugar mixture to give it a nice coating. It was then smoked for 4.5 hours with hickory wood, till it reached an internal temperature, of 130 degrees. It was then sliced thinly by knife, leaving us with a thicker cut, than commercially packaged bacon.
The slices were placed on wax paper and then vacuumed sealed for future use. Put a couple of pieces in the non stick skillet and made sure they were nice and crunchy. My family loved it, and didn't mind the wait, after they tasted it. I enjoyed making it for them and seeing their big smiles.
Less fat, more meat, no artificial preservatives, just good old fashion treats! Next time, you have a carving for some great bacon, give it a try, you won't be disappointed!