Translate Widget

English French German Spain Italian Dutch

Russian Portuguese Japanese Korean Arabic Chinese Simplified


this widget by www.bloggerarticle.com

Search This Blog

Sunday, March 18, 2012

St. Patrick's Day Treats

Top of the mornin' to ya!  Happy St. Patrick's Day.

We were invited to our neighbor's house for an annual St. Patrick's Day dinner.  We asked what to bring and she suggested dessert.  Someone was already bringing a pistachio cake.  So having cake would be repetitious, so I opted to go another way.  Couldn't do cupcakes or cake balls.  Same concept as cake.  What other dessert can I do that I can tint green????? Why how about iced cookies?? Shamrock shaped cookies with green icing. Who can say no to a melt in your mouth shortbread cookies with frosting? I know I can't. So let me show you how my process went.
 This is the dough I used.  It's your basic shortbread cookies recipe.  I have heard they are softer and tend to break easier, but it's a great melt in your mouth recipe. It was a very, very easy mix to do.  The problem came when you rolled it out.  You had to roll it between sheets of parchment paper and then put in the fridge for one hour to harden up. Then you rerolled, cut your cookies & put those back in the fridge to harden before baking. By putting them back in the fridge for one hour before baking, it helped so they don't spread to much.


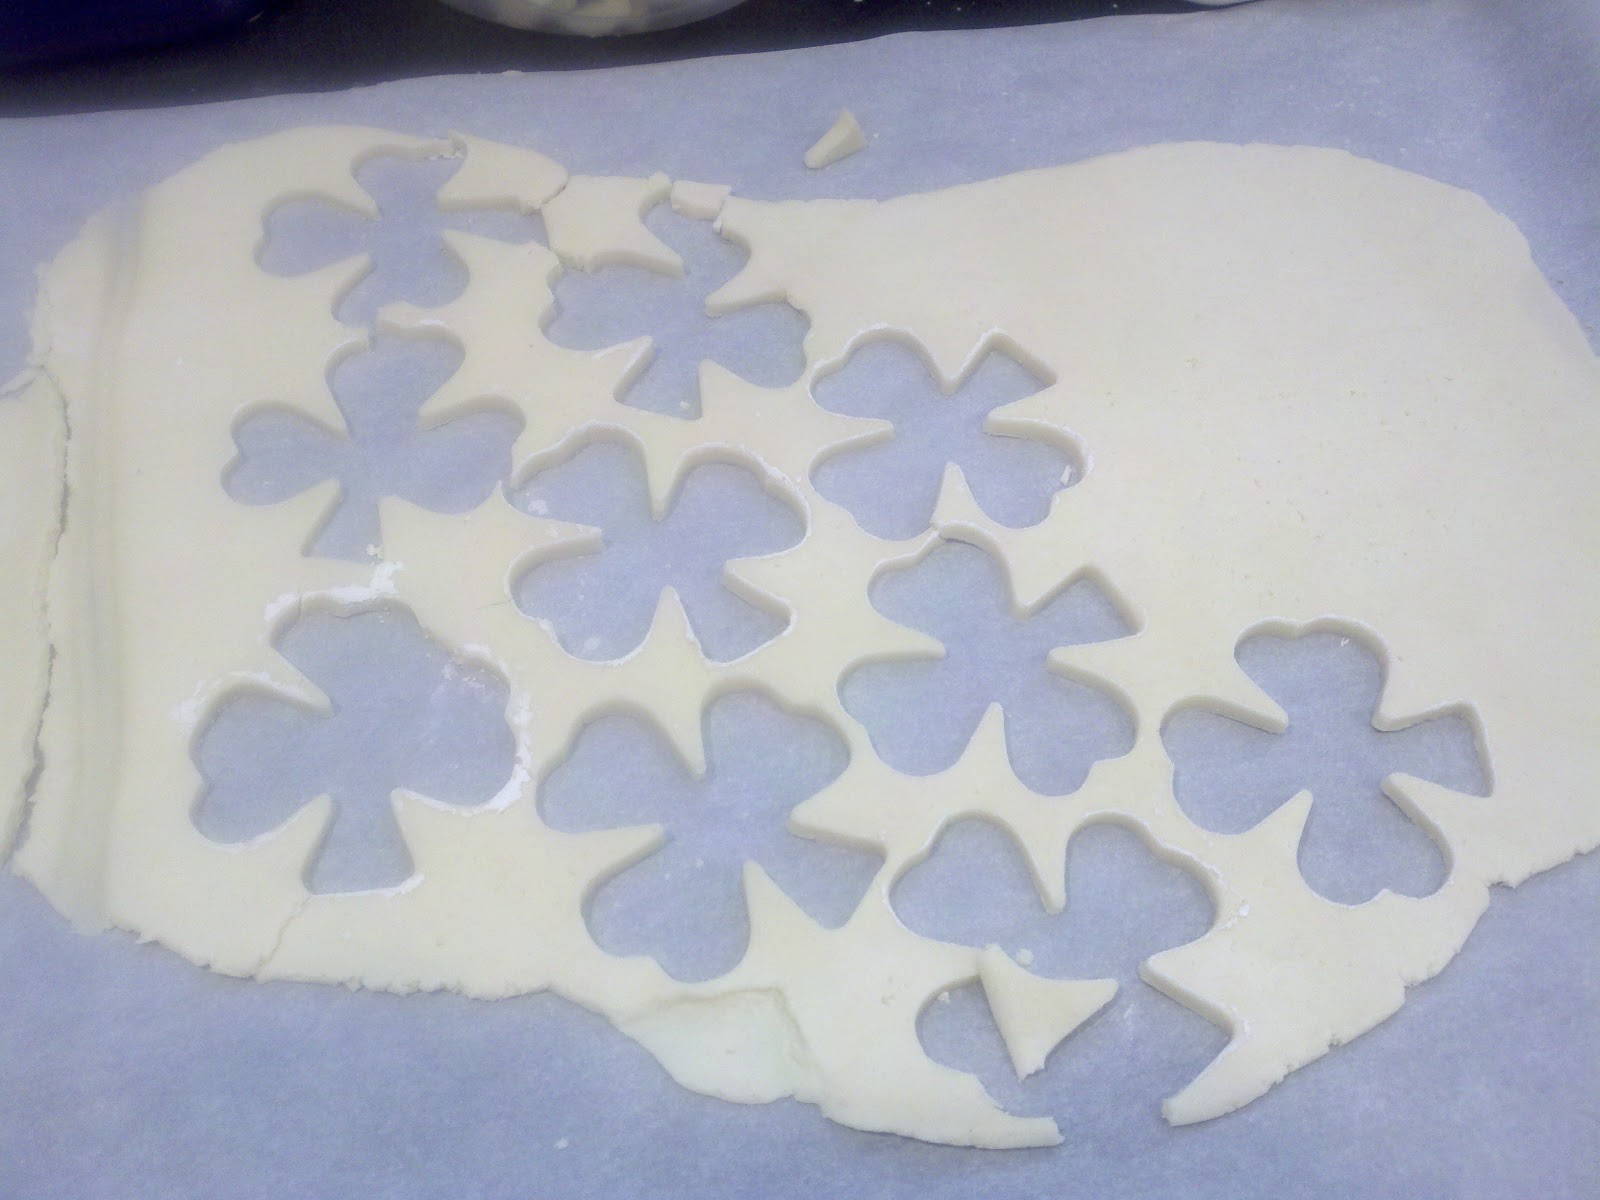
I did roll them to thick, basically 3/4 cm. This way they were a bit thicker & easier to handle.  Not as fragile.

I baked the cookies for 14 minutes at 350 degrees.  I let them cool for a minute then transferred to wire rack so they could cool completely.  Once cooled I then stored them in an air tight container until my icing was ready.  I created a typical royal icing and tinted it green.

With the royal icing I outlined & flooded the cookie with the royal icing. I then let them dry for 24r hours.  Royal icing dries to a nice hard consistency.  It helps keep them fresh. 

Here is the finished product.  They were a hit at the party. Everyone loved them. They said they were cute & the best part, they said they were delicious!

Friday, February 17, 2012

Home Grown Eggplants

Hello everyone.  I know you almost forgot about me.  I haven't posted anything for a while.  I've been busy. I have been cooking & taking pictures.  My phone is ready to bust open with all the pictures I have.  I will slowly start posting and hoping to post all the great things I have created. Enjoy and let me know what you think.

So I decided to grow my own vegetable garden in the summer of 2011.  I usually just grow tomatoes.  This year I was a bit adventurous.  I started to grow my own eggplants.  The big purple ones.  At first they were the size of my fingers.  Turns out, eggplants need lots & lots of water (who knew?).  So i started to water, & water & water.  Then at times i would end up with these huge beautifully looking monsters!

My neighbors all got two or three helpings, a week!  Not wanting to make eggplant parmigiana every night, I did research for other recipes that just might make me go hhhhmmm.  Well one night we decided to just have fried eggplant.  Why not?  These were pretty good.  This is how I started.

1) First cut up the eggplant. Make sure you cut off both ends.  Be careful with the crown.  It has small spike like points that really hurt.  I liked cutting then in small round.  It would be easier to fry.

2) Put them in a colander and salt them.  Let them drip for 15 to 20 minutes.  By salting them it helps remove the extra fluid the eggplant has and some of the bitter  juice so that it doesn't have a nasty flavor.


3) Next prepare your stations.  One of flour (season the flour.  Trust me. Who wants plain jane flour?), one of egg wash and the last the crust you would want on your fried eggplant.  You can do bread crumbs, panko bread crumbs, corn meal or even flour again.


4) Make sure you rinse the salt off the eggplant and dry well.  Then dredge in flour, egg wash & bread crumbs.  Put them on a rack so they can dry well.  It helps with the frying process.


5) Heat up some oil.  For a "healthier oil use canola oil.  You can use any vegetable oil, shortening or a combination of both.


6) Fry on both sides until golden brown.  They take them out either drain on a rack or place on paper towels to drain the excess oil.  Remember to re-season once they come out of the hot oil.  This step helps the seasoning to stick to the food.   Like when you step out of a hot shower & you immediately put lotion on.  It just makes it stick better.


This could be a great side item for dinner or even as the main course.  Who just doesn't like fried eggplant?  Hope you like it.  Try it & let me know what you think.

Till next time.